Understanding the Basics of Dual Monitor Install
What is a Dual Monitor Setup?
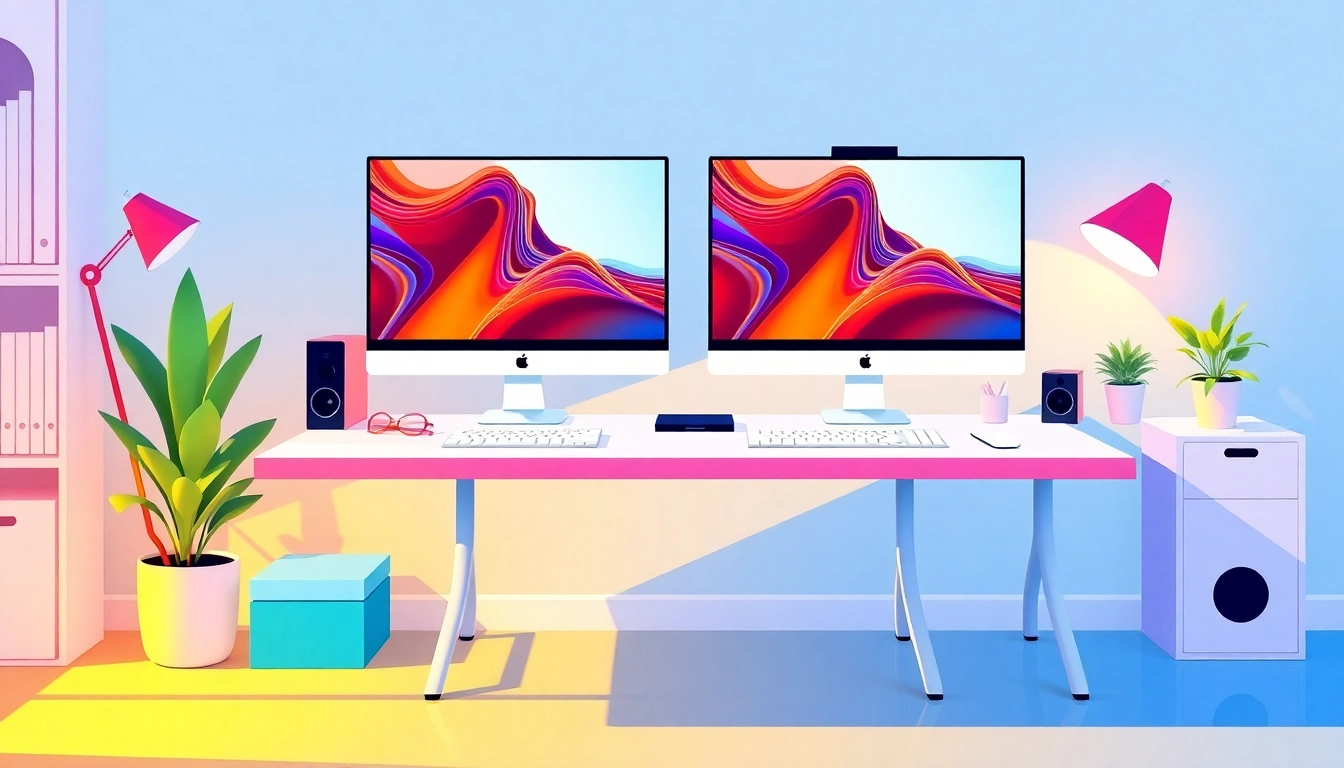
A dual monitor setup involves connecting two monitors to a single computer, allowing the user to expand their workspace. This configuration provides an intuitive way to multitask, as users can run multiple applications simultaneously and view them side by side. For instance, one monitor could display a document while the other shows a web browser, making it easier to refer to online resources while writing.
Benefits of Using Dual Monitors
Employing a dual monitor setup can significantly enhance productivity. Studies have shown that users can boost their efficiency by up to 50% when using two screens. Key benefits include:
- Increased Screen Real Estate: More space for applications, enabling users to work on complex tasks without the need to constantly switch between tabs.
- Improved Focus: With dedicated spaces for specific tasks, distractions can be minimized, allowing for deeper concentration.
- Enhanced Collaboration: Sharing data or presentations becomes easier with two displays; one can show content while the other displays notes or commentary.
- Efficient Task Management: Users can quickly drag and drop files or documents between screens, streamlining workflow and reducing time spent searching for specific items.
Compatibility Considerations for Dual Monitor Install
Before setting up dual monitors, it’s essential to verify that your computer supports multiple displays. This includes:
- Graphics Card Capability: Check your graphics card specifications to ensure it can handle two displays. Most modern graphics cards support dual monitors, but it’s always good to confirm.
- Operating System Support: Both Windows and Mac OS offer built-in support for dual monitors, but configurations may vary depending on the version.
- Hardware Connections: Ensure that your computer has enough output ports (like HDMI, DisplayPort, or VGA) to connect both monitors.
Essential Equipment for Dual Monitor Install
Choosing the Right Monitors
Selecting the right monitors is vital for a successful dual setup. Consider the following:
- Screen Size: Depending on your desk space, aim for monitors that fit well together; ideally, they should be of similar size and resolution to avoid visual discrepancies.
- Resolution: High-resolution monitors (1080p or higher) contribute to a better overall experience, especially for graphic designers and video editors who require sharp visuals.
- Panel Type: IPS panels provide better color accuracy and wider viewing angles compared to TN panels, making them suitable for professional work.
Required Cables and Adapters
To connect dual monitors, you’ll need the appropriate cables. Common options include:
- HDMI Cables: One of the most common connections, effective for high-definition monitors.
- DisplayPort Cables: Often found on high-end monitors and graphics cards, they support higher refresh rates and resolutions.
- DVI and VGA Cables: Older connections that may still be used for legacy hardware; DVI offers better quality than VGA.
Understanding Different Connection Ports
Familiarize yourself with various connection ports that are commonly used:
- HDMI: Best for general use with high-definition video and audio.
- DisplayPort: Great for multi-monitor setups due to its ability to daisy-chain multiple displays.
- DVI: A digital interface that provides excellent video quality for computer displays.
- VGA: An older analog standard that is less common in modern setups; typically used for older monitors.
Step-by-Step Guide to Dual Monitor Install
Connecting Your Monitors
Once you have the right equipment, follow these steps to connect your dual monitors:
- Power off your computer and both monitors.
- Use the appropriate cables to connect each monitor to your computer’s ports.
- Secure all connections and ensure monitors are plugged into a power source.
- Power on the monitors, followed by your computer.
Configuring Display Settings on Windows
To configure display settings on a Windows computer:
- Right-click on the desktop and select Display settings.
- Scroll down to the Multiple displays section.
- Select how you want the desktop to be displayed (e.g., extend these displays or duplicate). Follow specific needs, with extend being most common.
- Click Apply to save settings.
For a more detailed step-by-step process, refer to the official Microsoft guide on using multiple monitors.
Adjusting Settings on MacOS
For Mac users, configuring a dual monitor setup is straightforward:
- Click the Apple menu, select System Preferences, then go to Displays.
- In the Arrangement tab, you’ll see the two monitors displayed as rectangles.
- Drag the rectangles to represent the arrangement of your monitors on your physical desk.
- You can also adjust resolution and rotation settings in this tab if needed.
Troubleshooting Common Issues with Dual Monitors
Resolving Connectivity Problems
Even after successfully connecting your monitors, issues may arise:
- No Display: Check all connections, ensuring cables are secure and monitors are powered on.
- Incorrect Source: Use the monitor’s settings to confirm it’s set to receive the correct input (HDMI, DisplayPort, etc).
Addressing Display Configuration Errors
If the displays are not functioning as intended:
- Incorrect Resolution: Adjust the resolution setting in the display settings of your operating system to match the monitor’s specifications.
- Display Not Detected: Restart the computer and check for software updates for your graphics drivers.
Fixing Color and Resolution Issues
Color discrepancies may occur between monitors:
- Calibration: Use color calibration tools to ensure both monitors display consistent colors.
- Check Display Settings: Ensure settings like brightness, contrast, and color settings match between the monitors.
Maximizing Productivity with Dual Monitor Setup
Best Practices for Effective Multi-Tasking
To make the most of dual monitors:
- Use Snap Features: On Windows, use the snap feature to position your windows quickly, while on Mac, consider utilizing Mission Control.
- Designate Specific Tasks: Assign specific applications to each monitor, e.g., communication tools on one screen and workflow applications on the other.
Utilizing Software for Enhanced Workflow
Leverage software tools that help in effectively managing multiple applications:
- Productivity Apps: Consider using task management tools like Trello or Asana to keep track of tasks across both screens.
- Window Management Utilities: Software such as DisplayFusion or FancyZones (for Windows) allows better window management, saving you time when arranging your screens.
Personalizing Your Dual Monitor Experience
Your dual monitor setup should cater to your preferences:
- Arrange for Comfort: Position the monitors at eye level and adjust their angle to reduce strain.
- Backgrounds and Themes: Use different wallpapers or themes on each monitor to easily signify which screen does what.
Conclusion
Implementing a dual monitor install can transform your workflow, increase productivity multifold, and allow you to manage your tasks more effectively. Regardless of whether you’re working in a corporate setting, studying, or pursuing creative endeavors, the advantages of dual monitors are undeniable. By understanding the setup process, equipment requirements, and best practices for efficiency, you can create a tailored workspace that meets your needs perfectly.